
A well-designed wardrobe is one of the most underrated features in a home. It’s not just a storage unit—it’s a daily-use, space-saving, stress-reducing lifestyle tool. And if done right, it feels like it was made just for you—because, well, it was.
If you’re considering investing in a custom wardrobe but are concerned about the cost, good news: with the right plan and smart budget planning, you can get the wardrobe of your dreams without the financial nightmare.
Here’s how to do it step by step.
🔹 Step 1: Define Your Needs vs. Wants
Before you start sketching layouts or pinning design inspo, get clear on function.
Ask yourself:
- Do I need more hanging space or more drawers?
- Are shoes, accessories, or seasonal items a problem?
- Am I sharing this wardrobe? (Be honest: who has more stuff?)
This step will help separate essential features from decorative ones—and save you from spending on things you’ll never use.
📝 Pro tip: Create a two-column list of must-haves and nice-to-haves to guide all design decisions moving forward.
🔹 Step 2: Measure (Then Measure Again)
The foundation of any wardrobe project is accurate dimensions. Don’t eyeball it—get precise.
- Height from floor to ceiling
- Wall width and depth (especially if you’re doing floor-to-wall cabinetry)
- Door swing clearance
- Obstructions like outlets, vents, or windows
Once you have your measurements, you can begin creating a layout that maximizes every square inch of your space.
🔹 Step 3: Select the Structure
Now that you know what you’re working with, it’s time to choose the configuration.
Common options:
- Reach-in wardrobe: Best for shallow spaces and smaller rooms
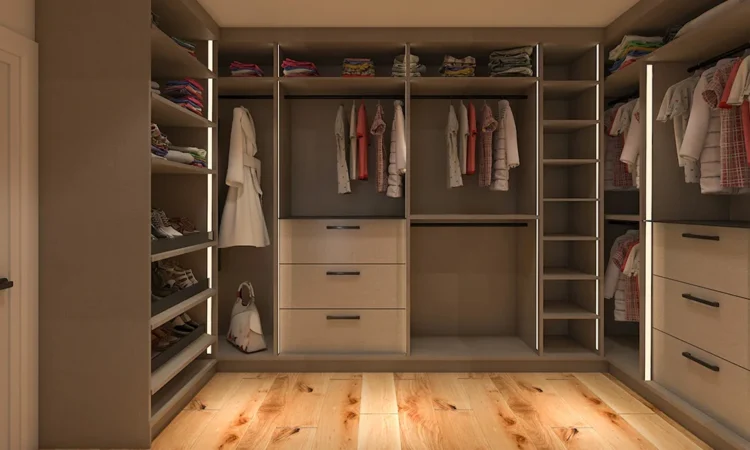
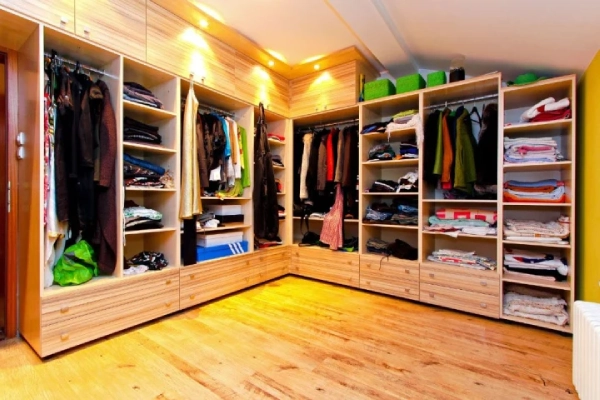
- Walk-in wardrobe: Ideal for maximizing space with L- or U-shapes
- Built-in wardrobe wall: Perfect for turning a blank wall into hidden storage
Decide whether you’re doing modular (pre-set units) or fully custom carpentry—each has a different impact on both function and budget.
🔹 Step 4: Focus on Material and Finish (This Impacts Budget the Most)
Material choice can swing your costs dramatically.
Budget-conscious options:
- Melamine or laminate interiors
- Flat-panel doors with matte or woodgrain finish
- Minimalist hardware or push-to-open doors
Higher-end features:
- Solid wood cabinetry
- Integrated lighting systems
- Glass or mirrored door panels
- Custom hardware and drawer inserts
This is where smart budget planning keeps your project grounded. Mix and match high and low—spend on drawer glides and construction, save on finish and hardware.
🔹 Step 5: Maximize Storage Per Cubic Inch
This is where design meets math. Consider:
- Double hanging rods for shirts and pants
- Pull-out shelves for shoes
- Vertical space for off-season storage
- Slim drawers for accessories and jewelry
- Adjustable shelving to grow with your wardrobe
Don’t just make it pretty—make it productive.
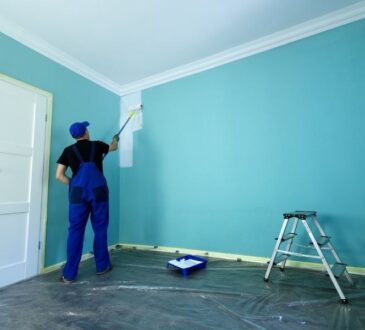
🔹 Step 6: Install, Style, and Maintain
Whether you’re working with a professional or going DIY, be there for the install. Check clearances, drawer functionality, and wall anchoring.
Once it’s in:
- Use matching hangers for cohesion
- Add bins or baskets for small items
- Keep it clutter-free by reevaluating what you store every season
Final Word from Emily Henderson
A beautiful wardrobe doesn’t have to come with a luxury price tag. With thoughtful planning, intentional design, and solid budget planning, your custom wardrobe can be both elegant and efficient.
Because the best spaces don’t just look good—they work hard for your everyday life.

